Getting Started
Set up MobileVibe and start coding from your phone in just a few minutes. This guide walks you through everything from installation to your first remote coding session.
What You Need
- Windows 10 or later
- Visual Studio Code installed on your PC
- Claude Code (or Codex) extension installed in VS Code
- MobileVibe alpha access
Step 1: Install MobileVibe
Download the MobileVibe installer and run it. The installation takes about a minute and doesn't require a restart.
Once installed, MobileVibe runs quietly in your system tray. Hover over the MobileVibe icon and you'll see "MobileVibe: Not Paired" — that's normal, we'll pair it next.
The MobileVibe icon in your system tray after installation.
Step 2: Sign In
Right-click the MobileVibe tray icon and select Sign In / Pair.
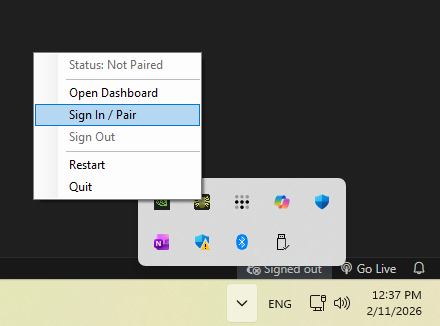
Right-click the tray icon and choose "Sign In / Pair".
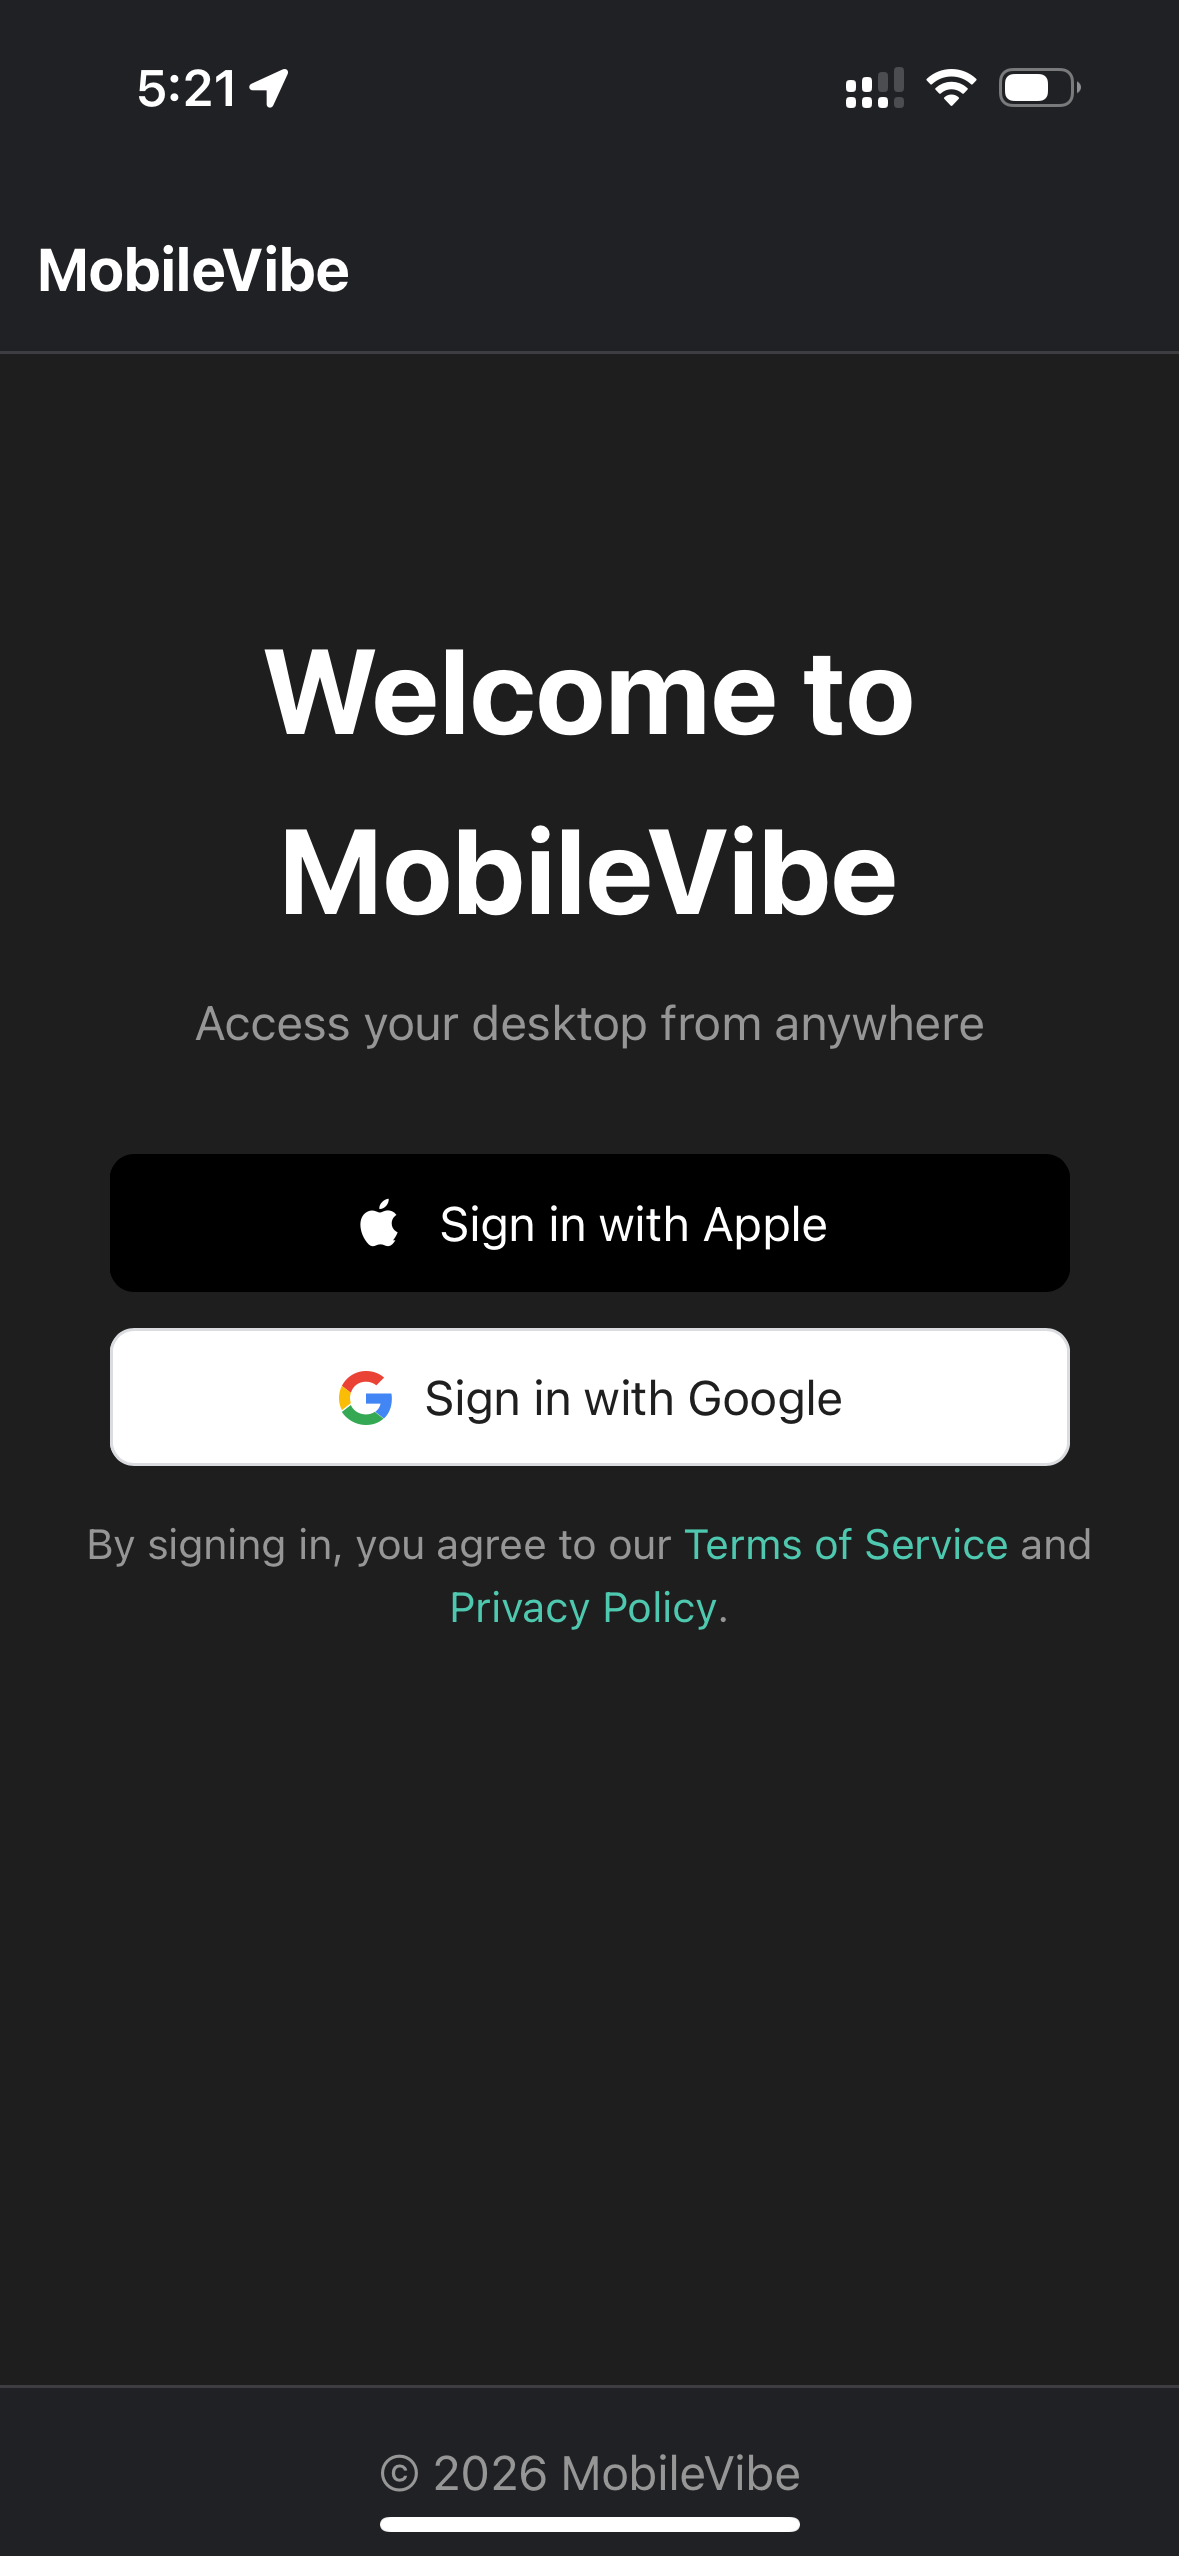
Your web browser will open to app.mobilevibe.com. Sign in with your Apple or Google account.
Step 3: Create a Workspace and Pair
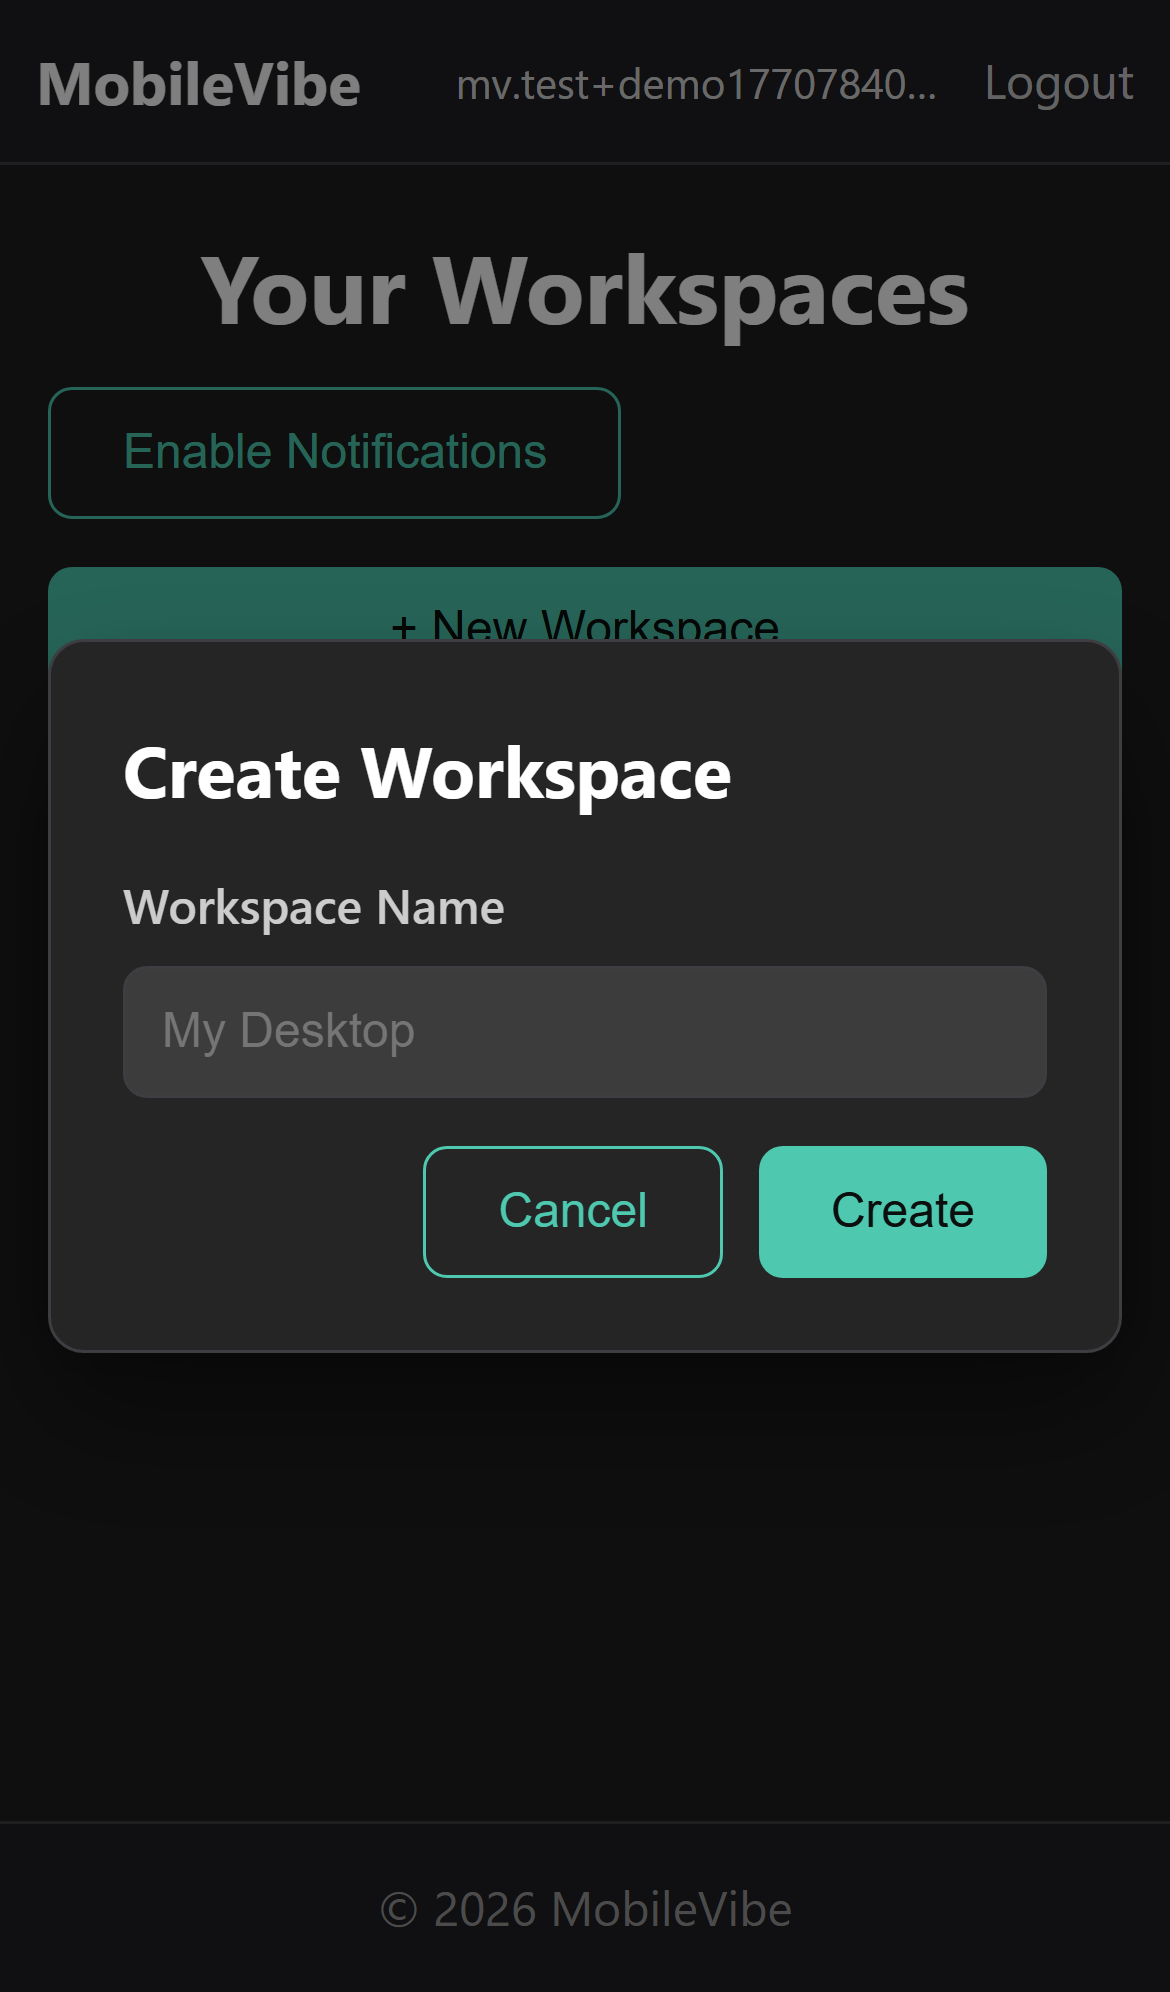
After signing in, you'll see the Your Workspaces page. A workspace represents one computer. Tap + New Workspace and give it a name you'll recognize — something like "My PC" or "Work Laptop".
Once your workspace is created, select it to pair this computer. You'll see "Desktop connected successfully!" — your PC is now linked to your MobileVibe account.
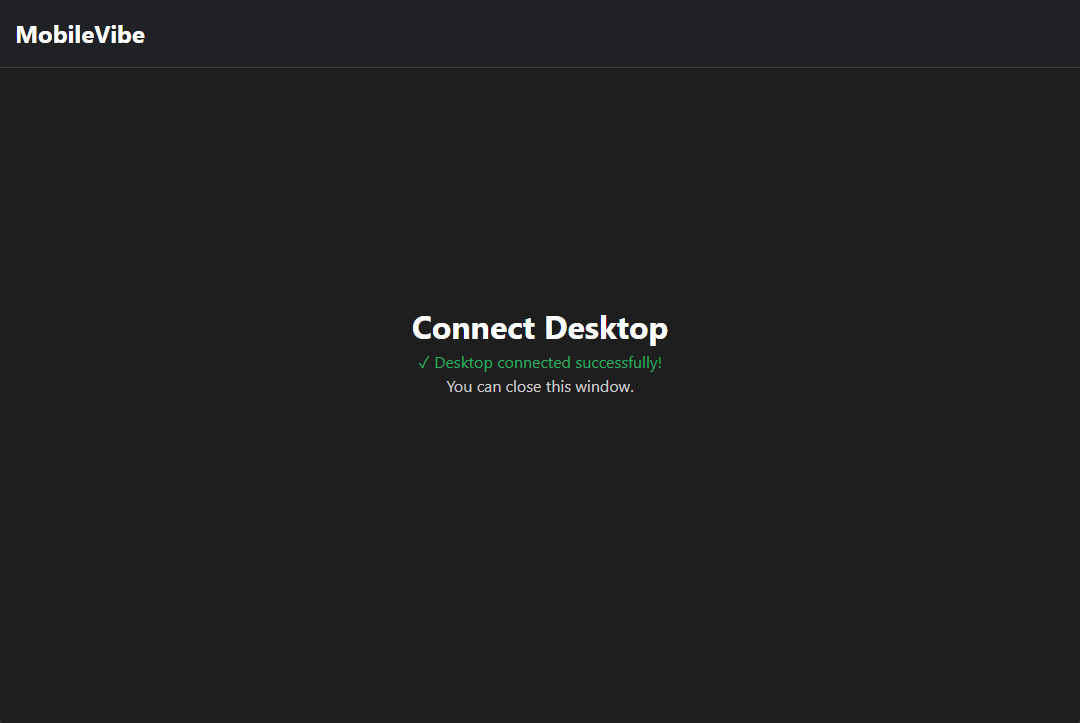
Pairing complete! Your desktop is now connected.
Step 4: Add a Project
Now let's set up a project. Go to app.mobilevibe.com on any device (your phone works great for this), tap your workspace, and you'll see the projects dashboard.
Tap Add New Project and fill in three things:
- Project Name — A friendly name like "My Website" or "Card Game"
- Project Path — Pick an existing VS Code project folder, or enter a path to a new one. If the folder doesn't exist yet, MobileVibe will ask if you'd like to create it.
- Agent — Pick your AI assistant (Claude Code or Codex)
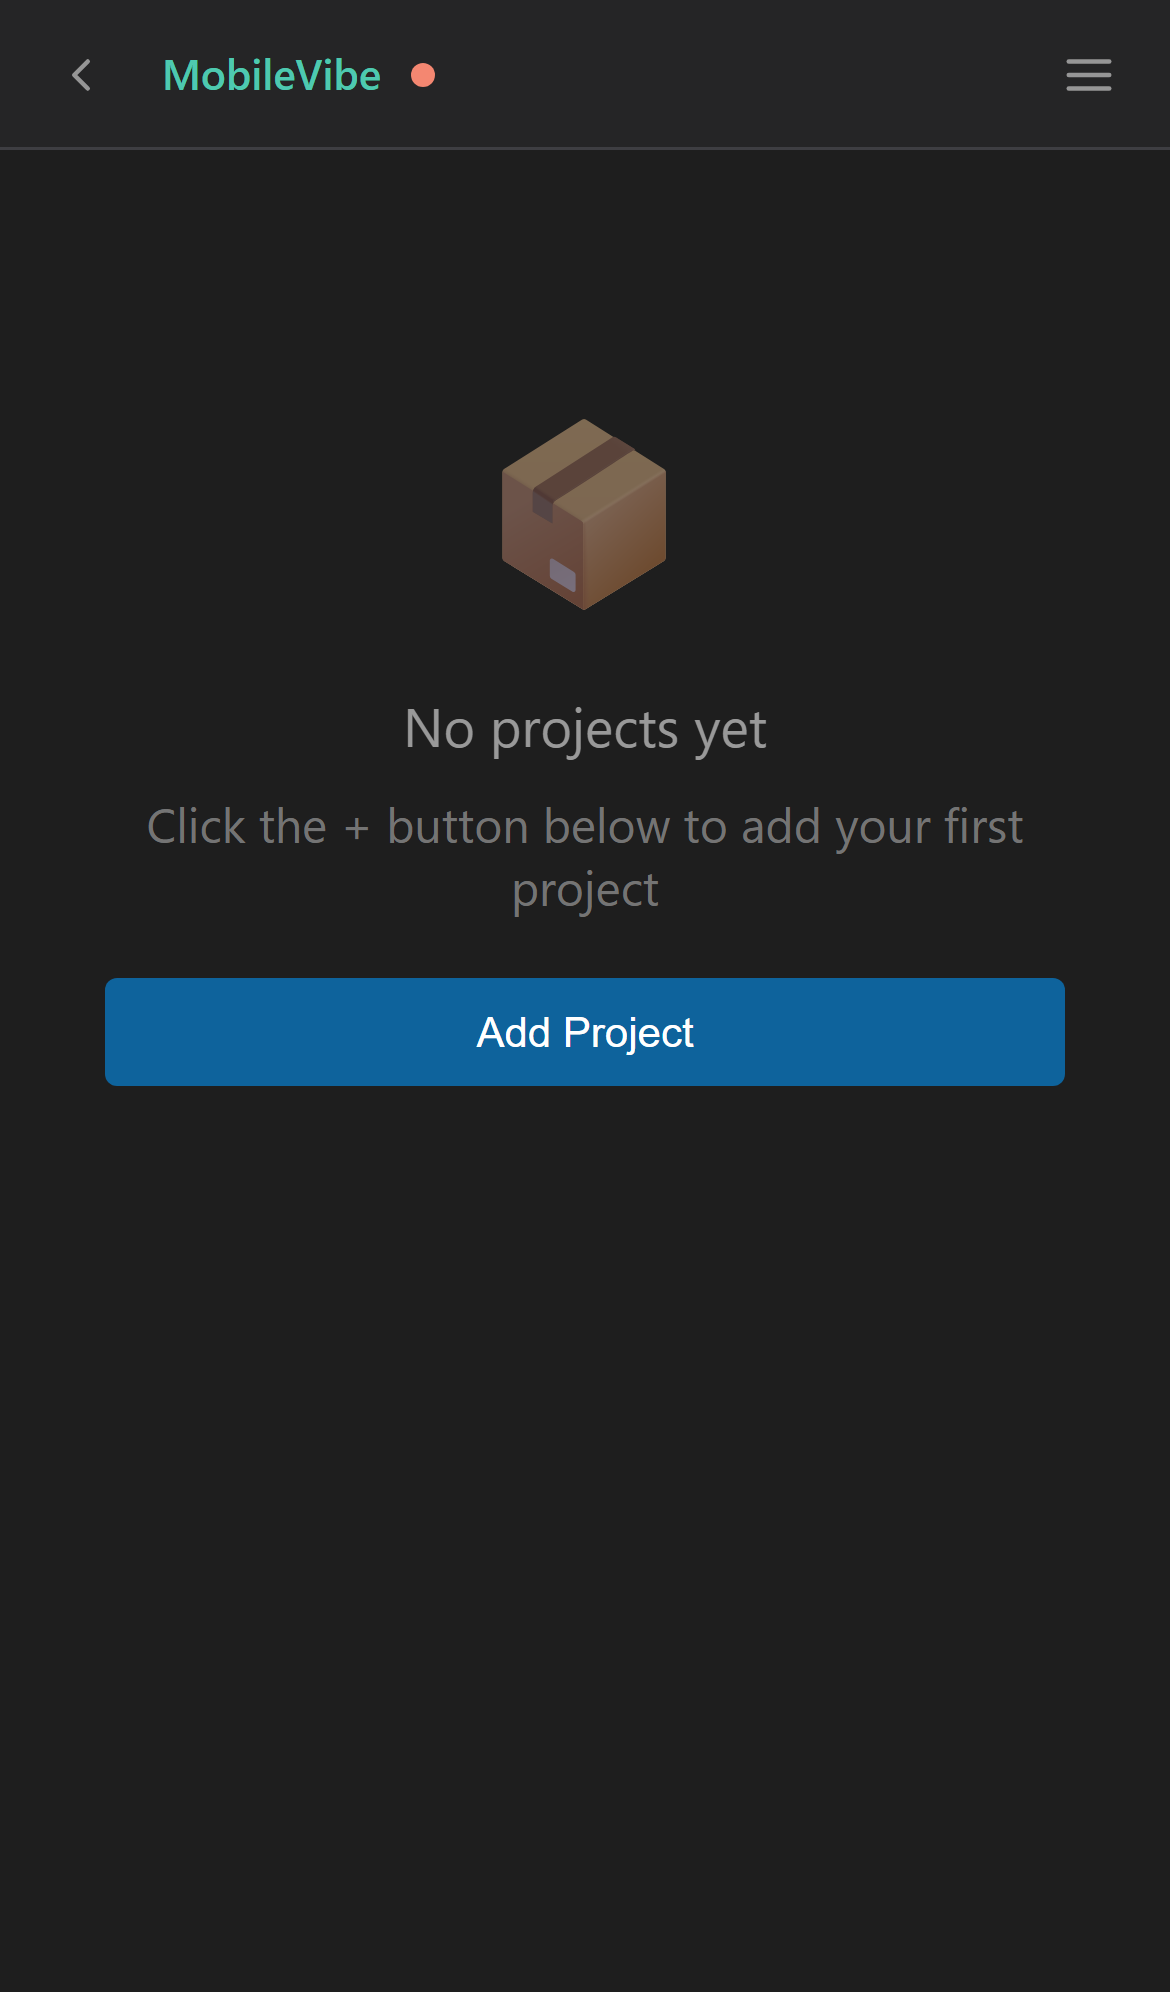
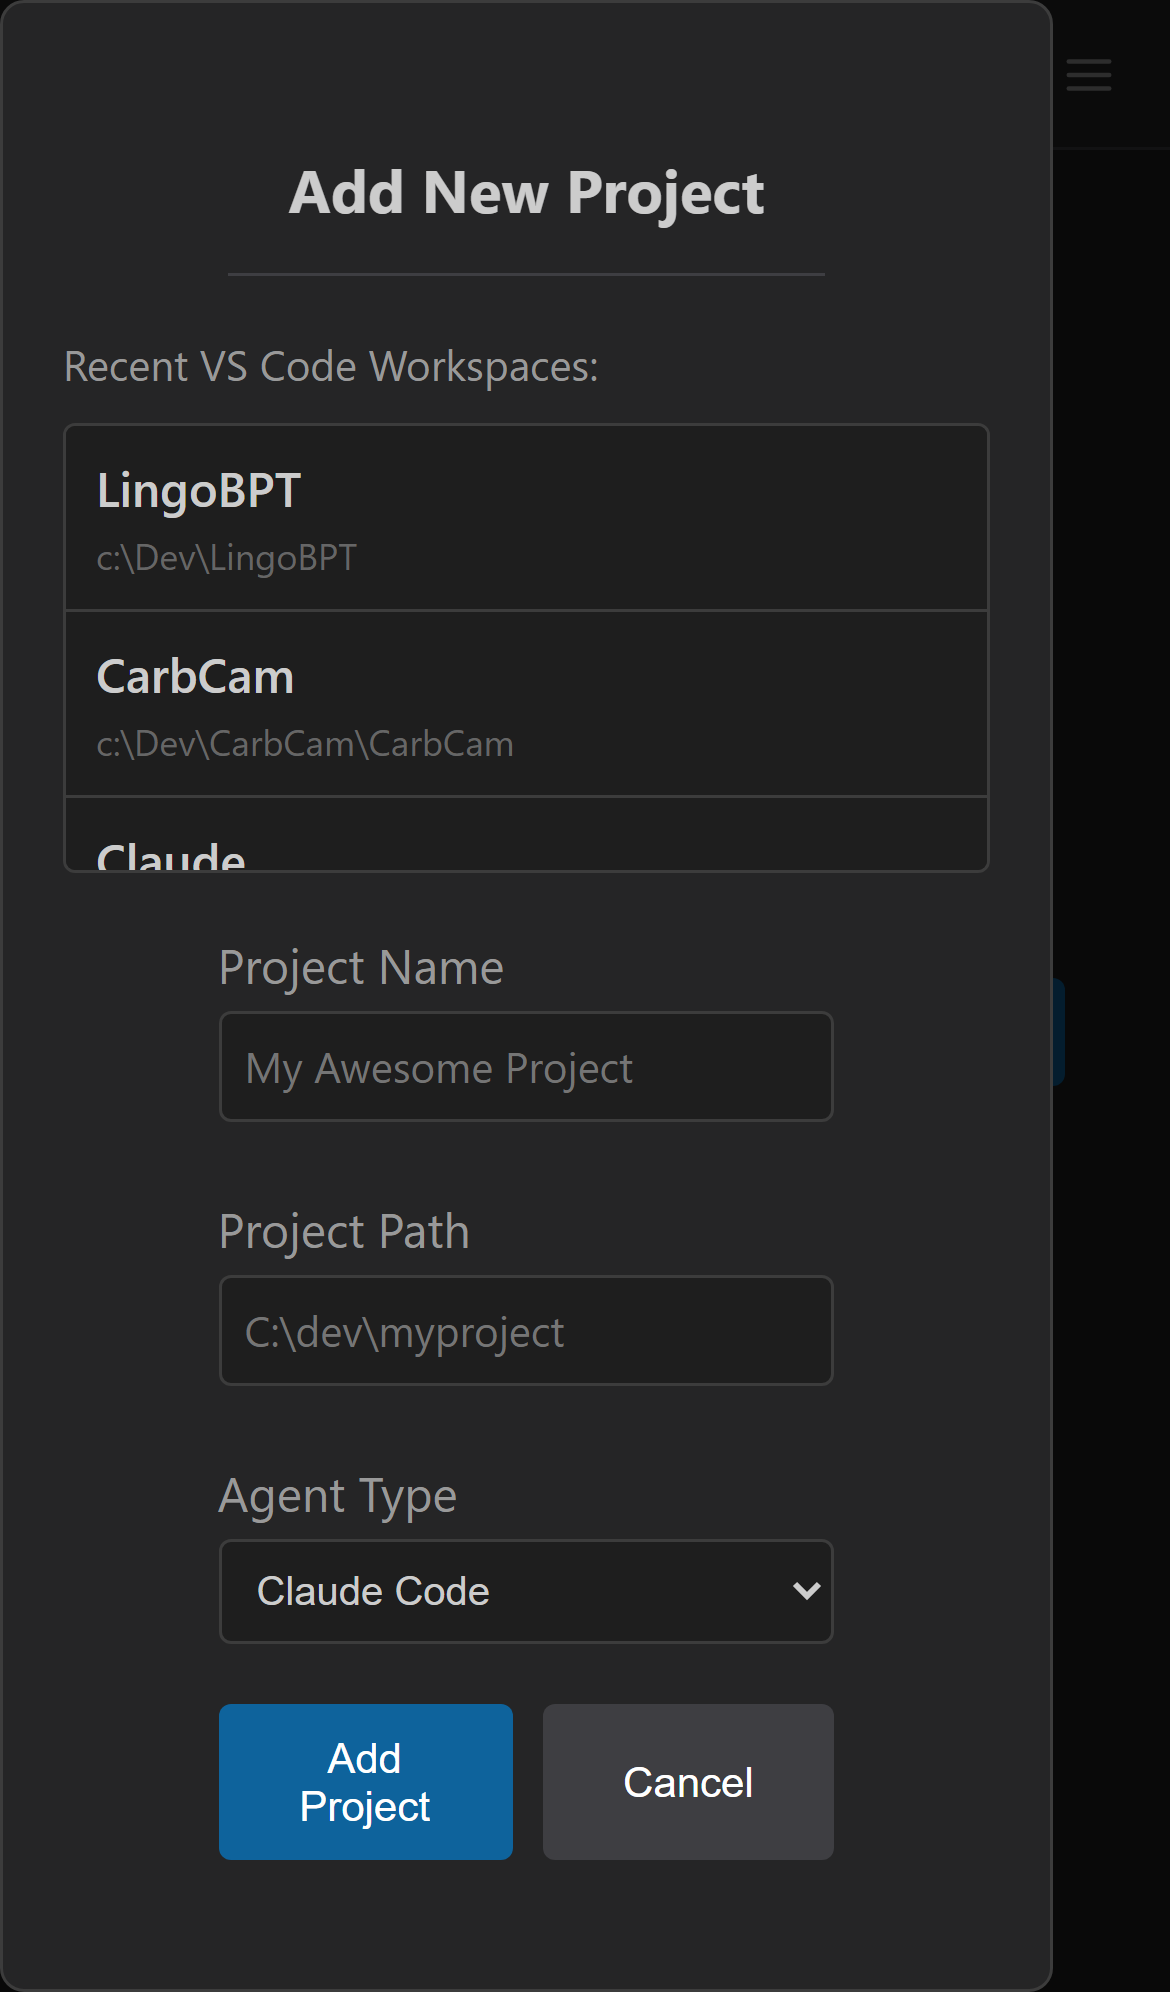
The empty dashboard and the Add New Project dialog.
Step 5: Launch Your Project
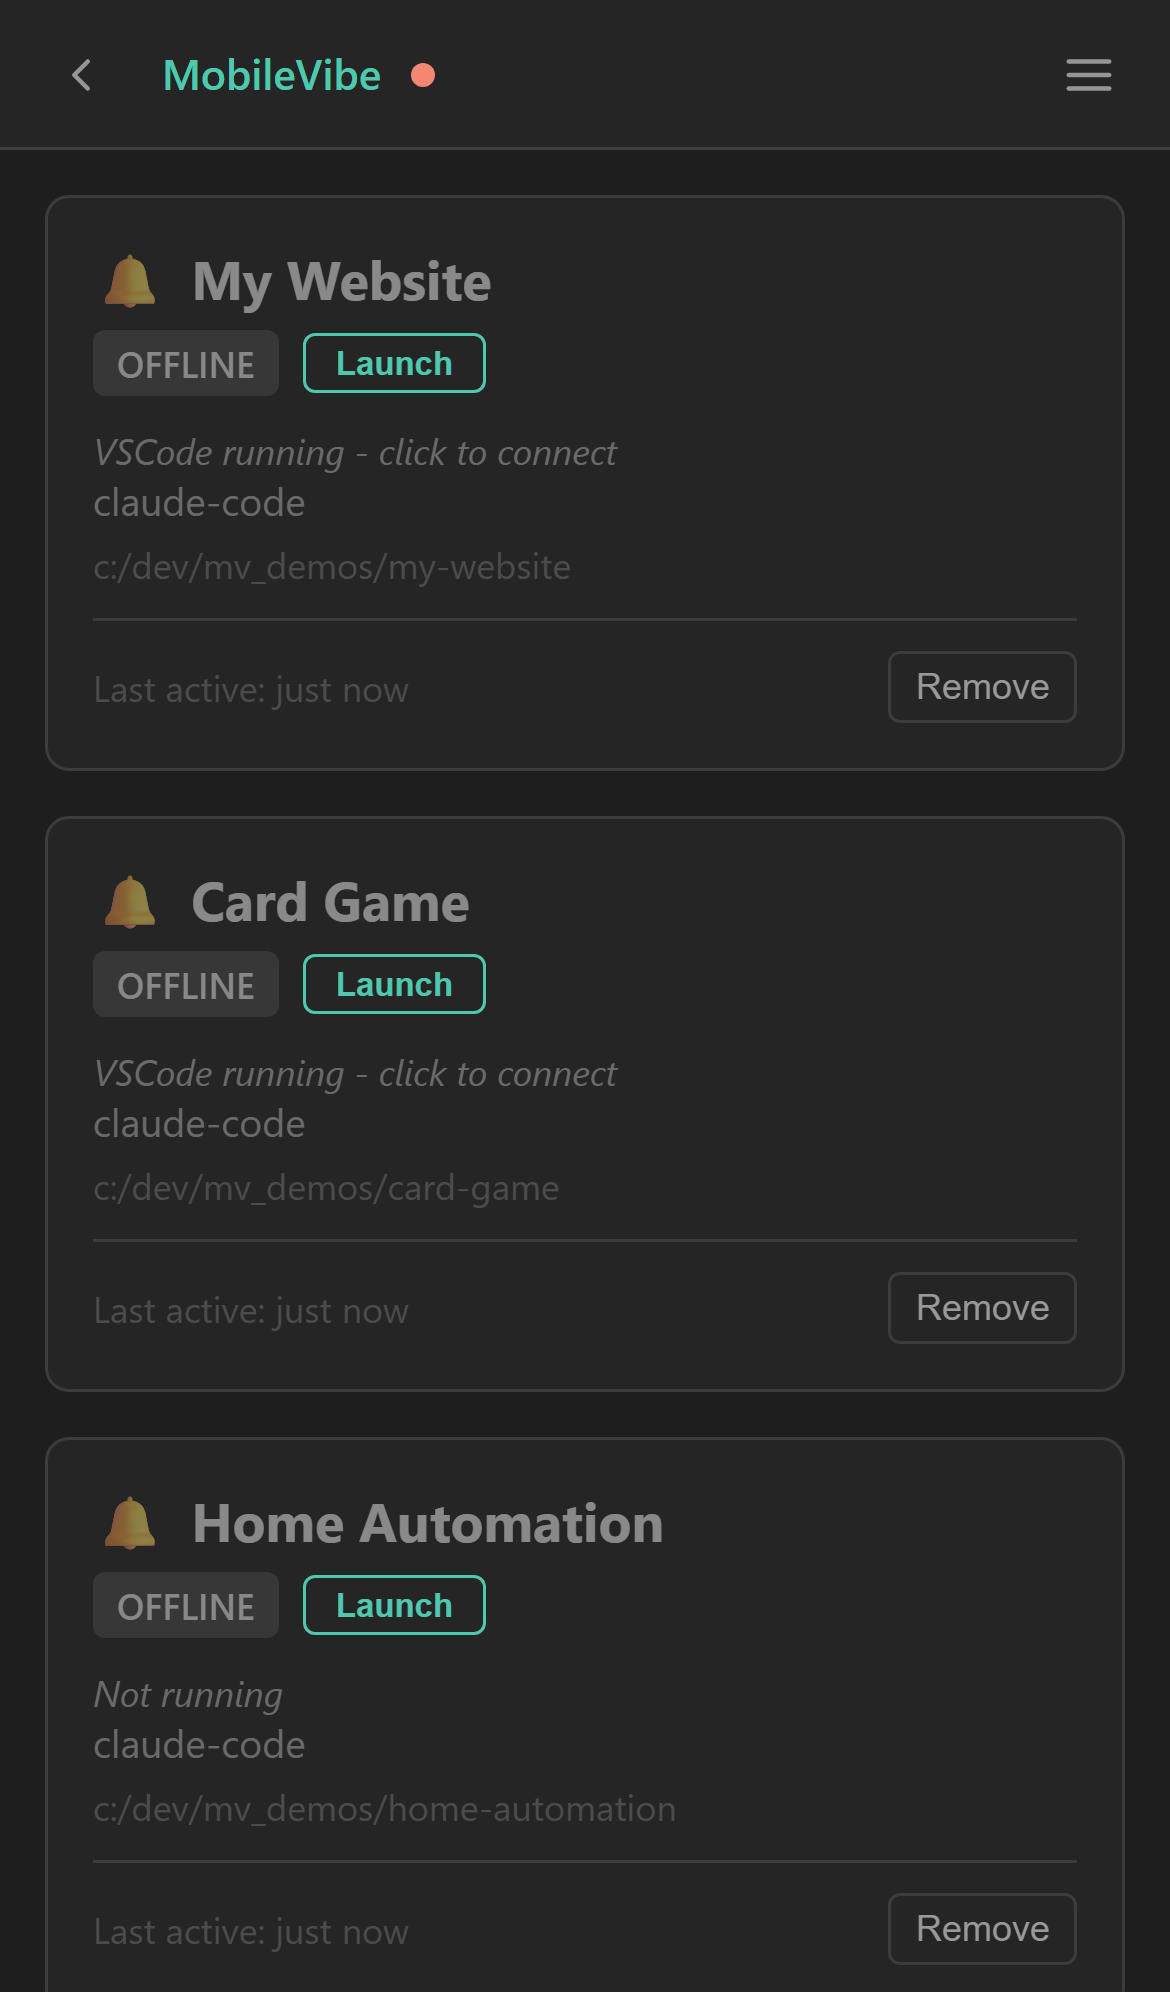
Back on the dashboard, you'll see your project card showing OFFLINE. Tap the Launch button and MobileVibe will open VS Code on your desktop with the right settings.
After a moment, the project status changes to ONLINE — VS Code is running and connected.
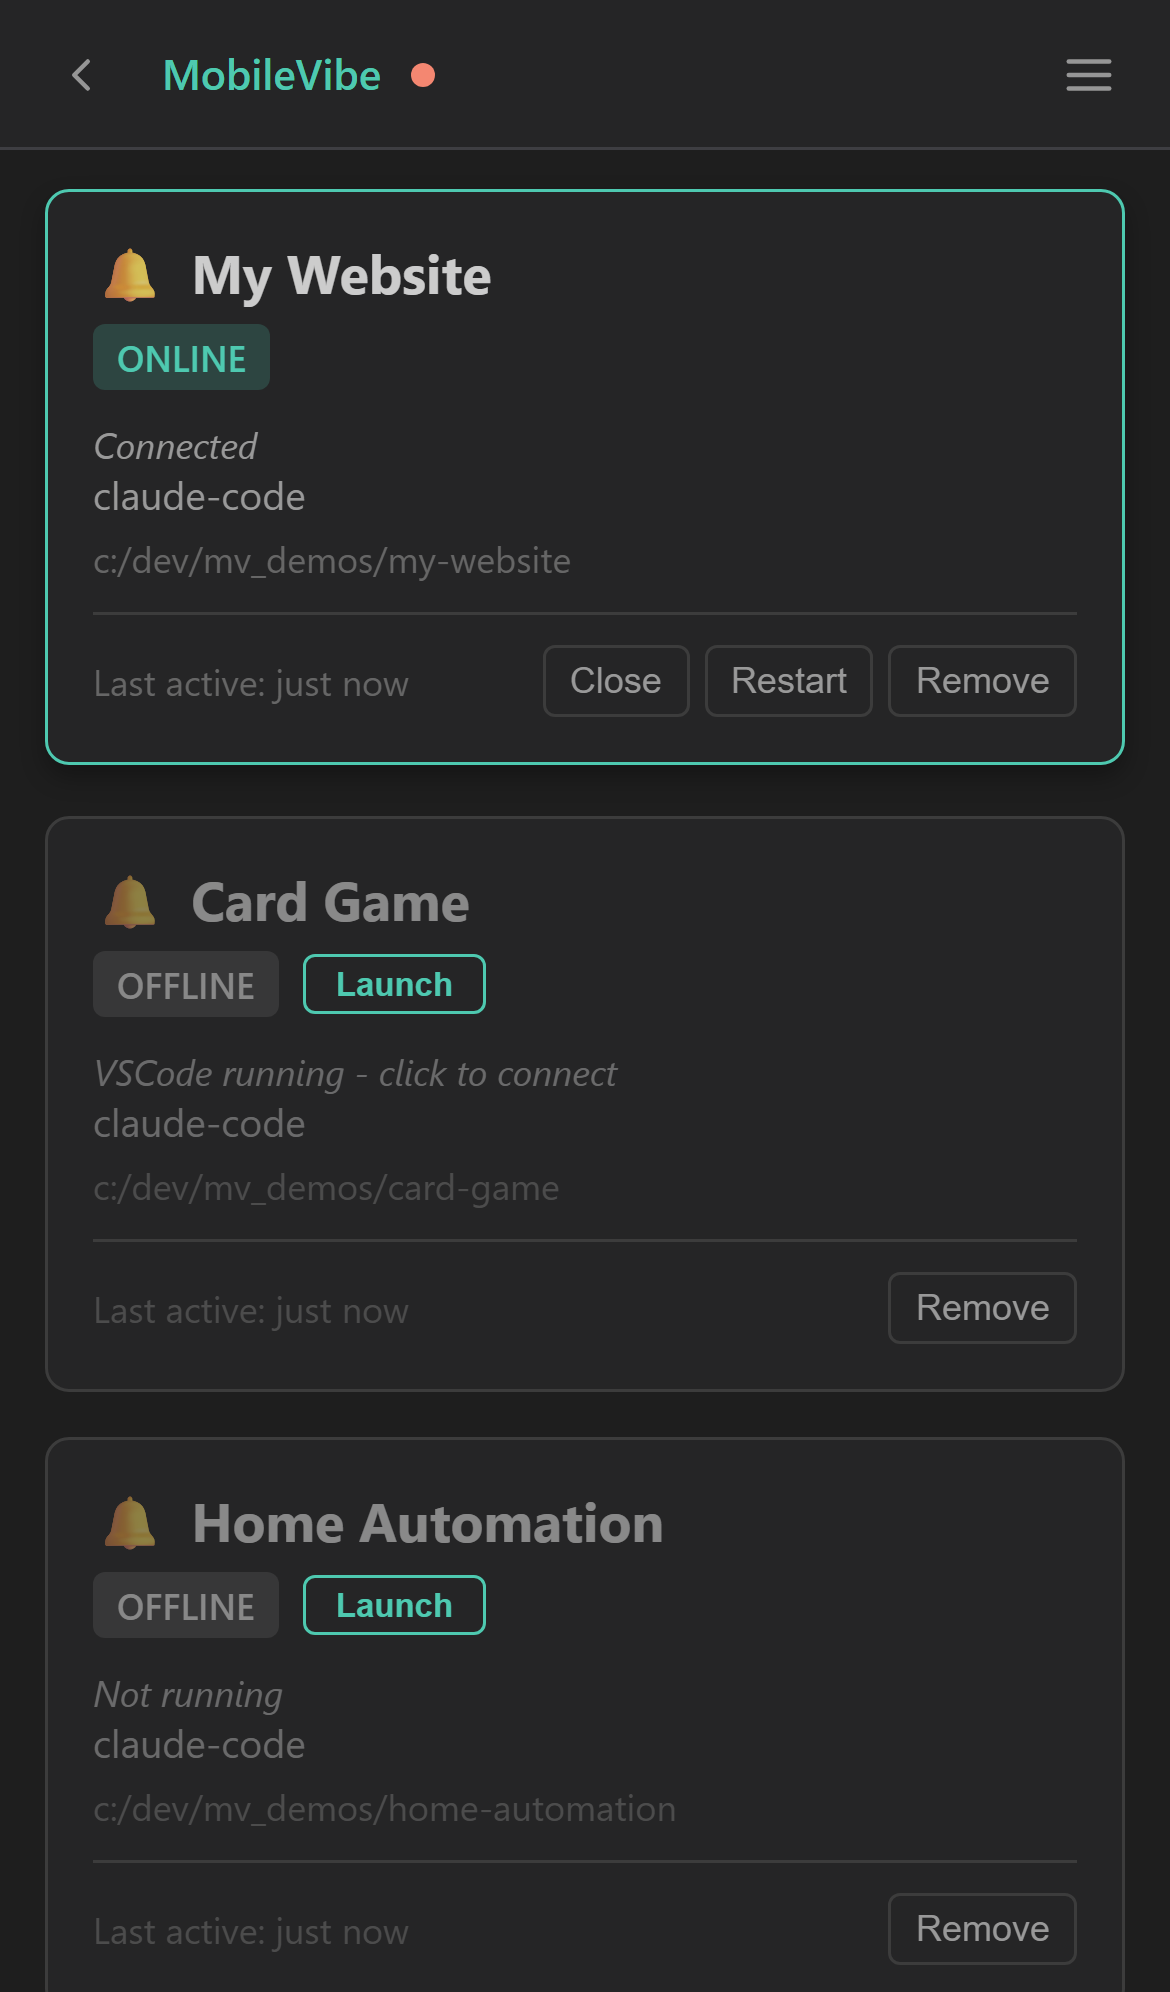
Tap Launch to start VS Code, then wait for ONLINE status.
Step 6: Start Vibing
Tap the project card to open it. You'll see the full Claude Code (or Codex) interface right in your browser — the same powerful AI coding assistant, now accessible from your phone, tablet, or any other device.
Type a prompt, review the output, approve file changes — everything works just like it does on your desktop.

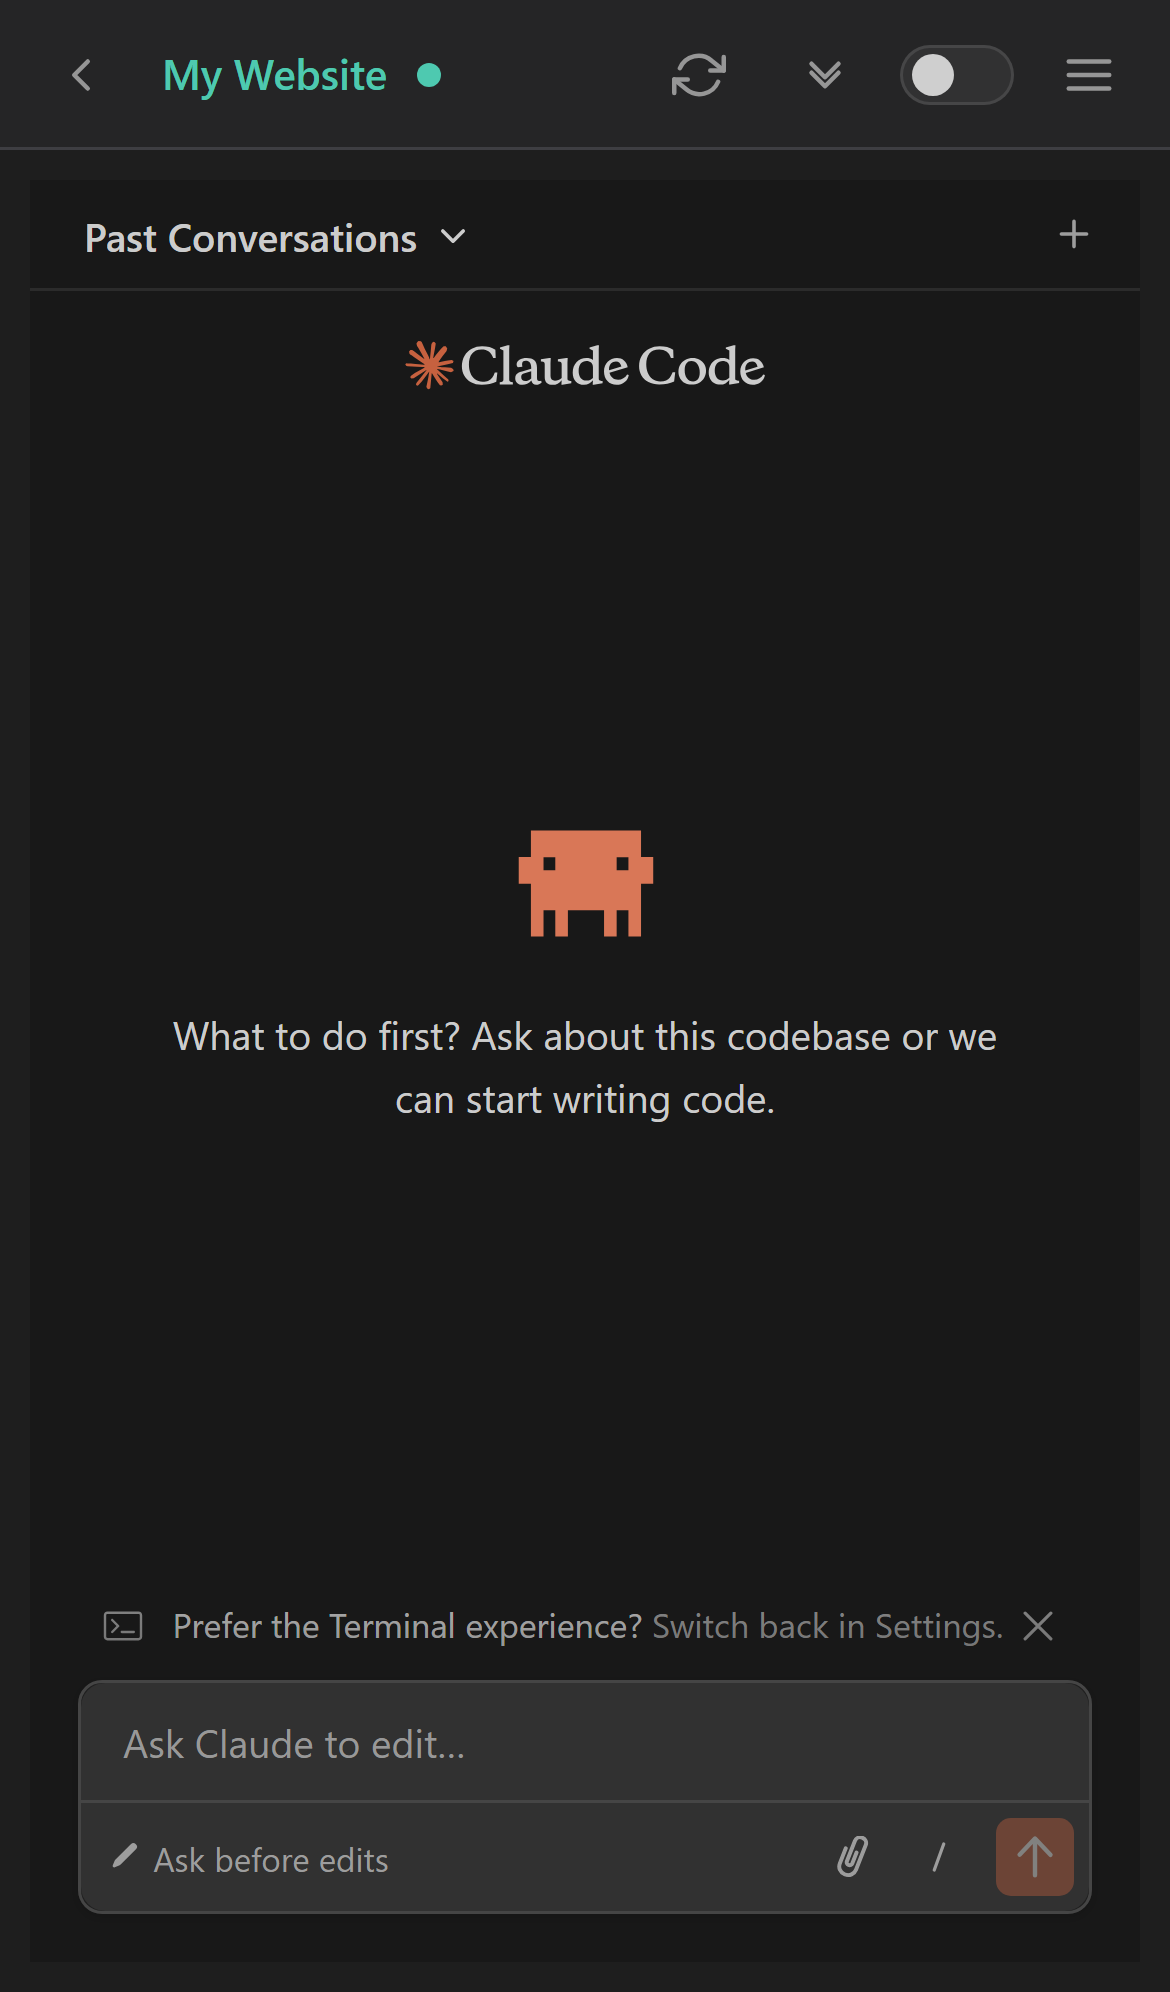
The same coding session, accessible from any device.
You're All Set
That's it — you're up and running! MobileVibe stays in your system tray so it's always ready. Add more projects for your other codebases and switch between them from the dashboard.
A few things to explore next:
- Enable push notifications to get alerted when your agent needs approval or finishes a task
- Use multiple devices — your phone and a desktop browser can access the same session